Please follow these steps and see the plugin in action.
Go to Plugin Settings
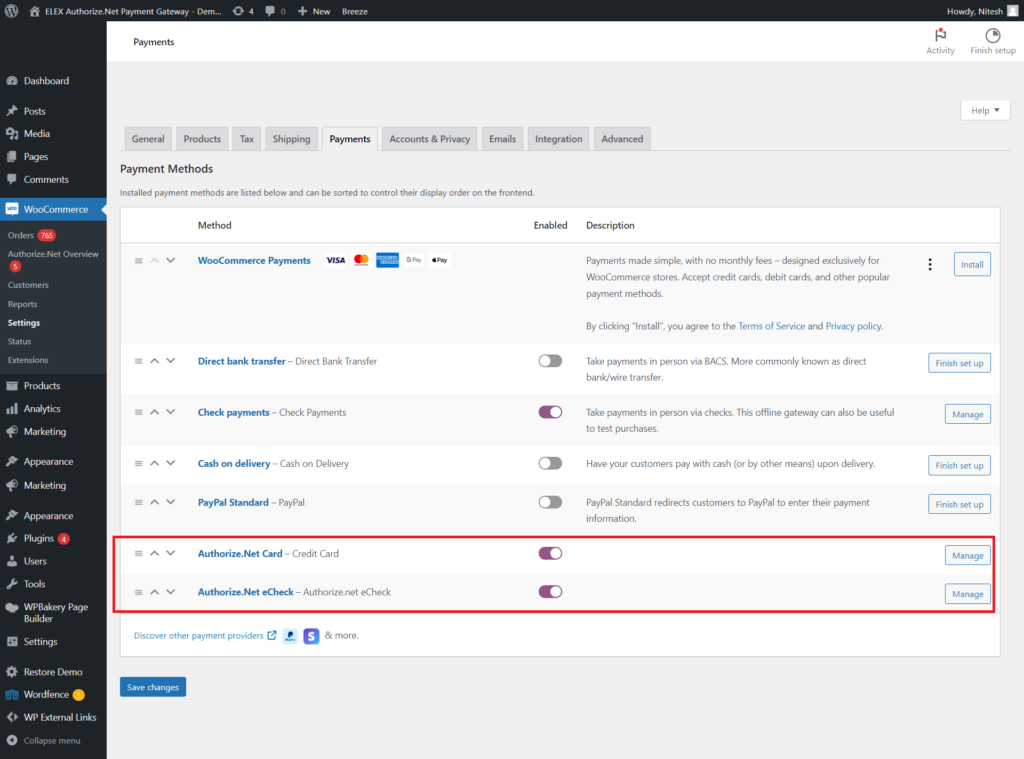
The plugin offers two types of Authorize.Net payment methods:
- Authorize.Net Card
- Authorize.Net eCheck
You can navigate to the plugin settings in two ways:
- Dashboard > WooCommerce > Settings > Payments > Manage Authorize.Net Card/Authorize.Net eCheck Method
(or) - Dashboard > Plugins > Installed Plugins > ELEX Authorize.Net Payment Gateway for WooCommerce > Settings. This will directly take you to the Authorize.net card payment settings page.
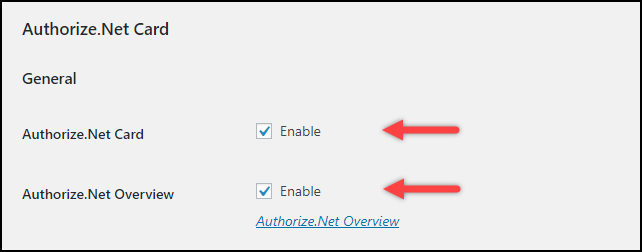
Enable Authorize.Net Card and Authorize.Net Overview Page
Check the Authorize.Net Card setting to enable the Card payment method of the plugin.
Also, to view all the transactions occurred using Authorize.Net, enable Authorize.Net Overview.
In addition to this, there are few generic settings. You can read the Authorize.Net Card’s General Settings section of the setting up documentation.
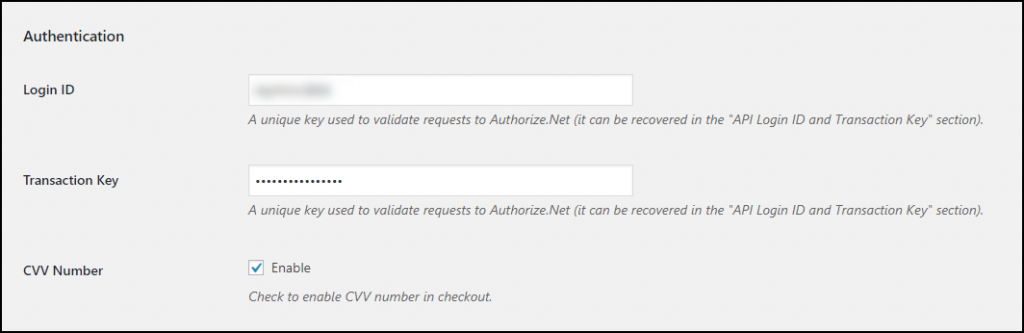
Enter Authorize.Net Credentials
First, signup for an Authorize.Net account. Once the registration is successful, you will receive credentials from Authorize.Net.
In the plugin settings, enter your Authorize.Net Login ID, Transaction Key, and enable CVV Number setting to accept CVV number during checkout.
For more detailed information, you can refer the Authorize.Net Card’s Authorization Settings section of the setting up documentation.
Transaction Settings
Configure the following transaction settings:
- Select either Test(recommended for testing) or Live mode for the payment transaction.
- You can choose to Authorize & Capture the payments immediately or choose to Authorize only to let shop owner authorize the charges manually.
- Enter custom messages for successful as well as failure transactions.
For more detailed information, you can refer the Authorize.Net Card’s Transaction Settings section of the setting up documentation.
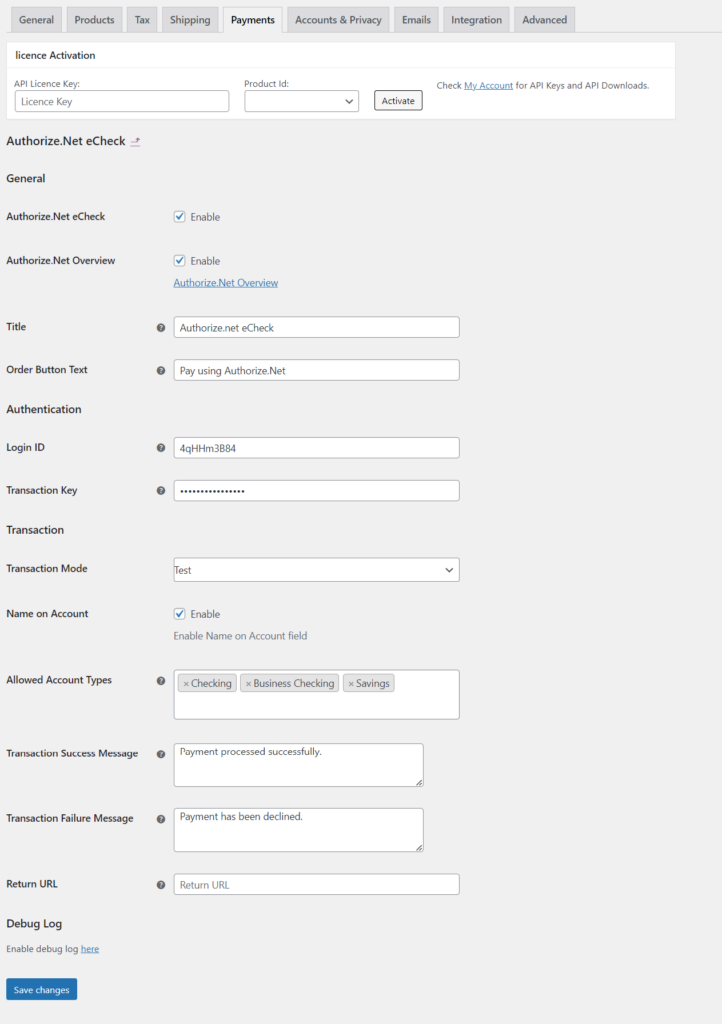
Configure Authorize.Net eCheck Settings
Go to WooCommerce > Settings > Payments > Manage Authorize.Net eCheck Method.
Just like Authorize.Net Card settings, you can configure Authorize.Net eCheck settings as well. The only difference is that you need to choose Account Types; Savings, Checking, or Business Checking, instead of selecting cards.
For more detailed information, you can refer to the Authorize.Net eCheck Settings section of the setting-up documentation.
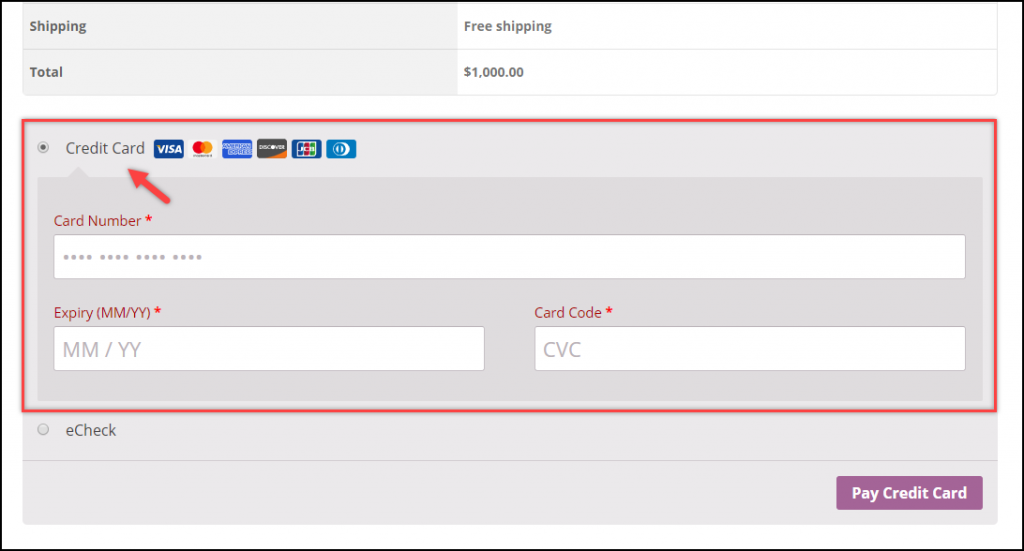
Authorize.Net Card Payment Method in Action
Follow the below steps to see Authorize.Net Card payment method in action:
- Head to the shop page.
- Add an item to the cart and move to the Checkout page.
- You can notice the Credit Card(or the title which you have set up) payment method with text fields to enter credit card number, card expiry period and CVV number, as shown in the screenshot to the left.
- Enter required card details to proceed with the order transaction.
- At last, click on Pay Credit Card button to place the order.
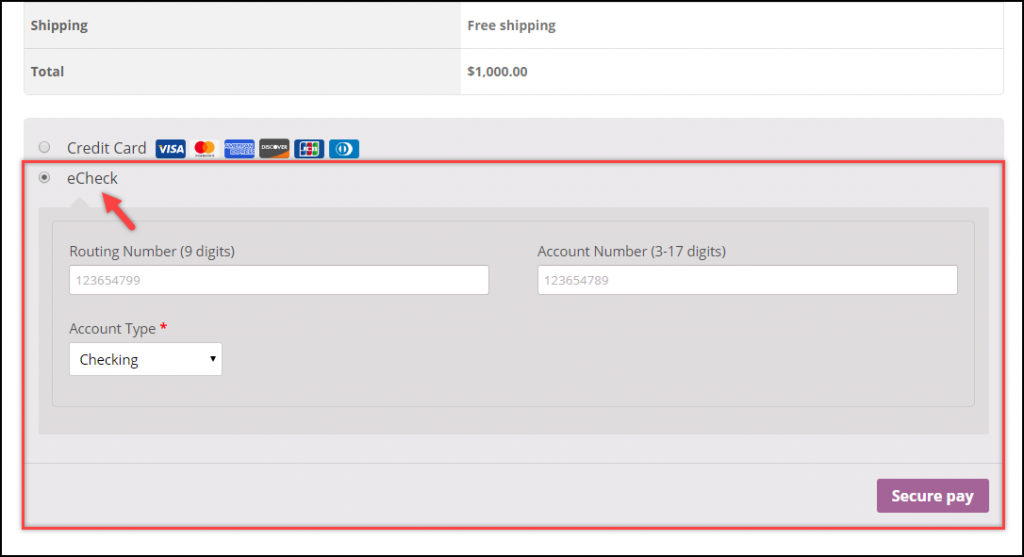
Authorize.Net eCheck Payment Method in Action
If you are using Authorize.Net eCheck payment method to complete the payment transaction, on the Checkout page, select the eCheck payment method.
Enter the Routing Number, Account Number and select the respective Account Type.
Finally, click on Secure Pay button to place the order.
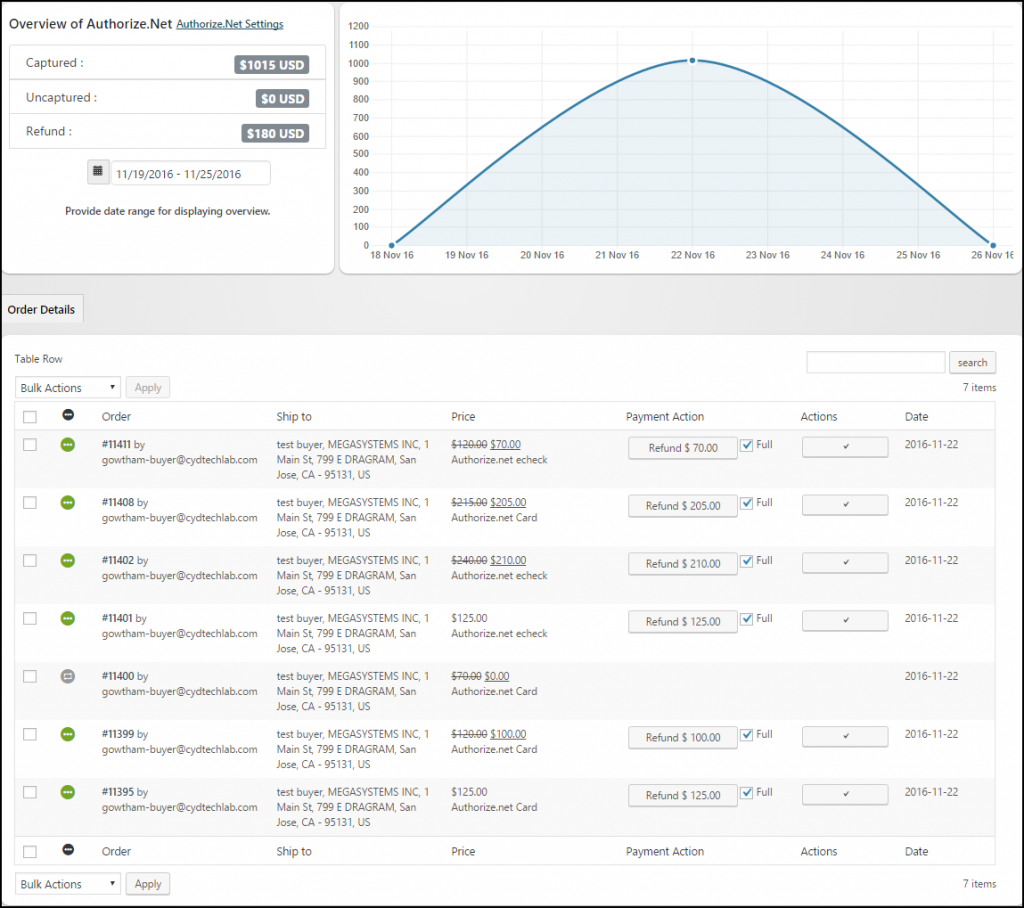
Authorize.Net Overview Page
Once the order is placed, head to Authorize.Net Overview page.
In this page, you can view all your transactions, initiate refunds and capture payments.
Video Tutorial
Check out our video tutorial to better understand the plugin features and setup.
Contact Us
Check out the product page for more information.
If you have any questions or clarifications, feel free to reach us. We will be happy to help.